Saturday, February 24, 2018

Nine-Patch Fun

The nine-patch block is one of my favorites and I've made these in all different sizes. But mostly for small quilts.


Right now I have three nine-patch quilts in the works that will be larger than the small quilts I typically make. Some of the blocks will still be small and some will be a bit larger. I'm working on these in between sashing my Dear Jane quilt. 


It feels odd making 6-inch blocks when you're used to making smaller ones. They seem huge!


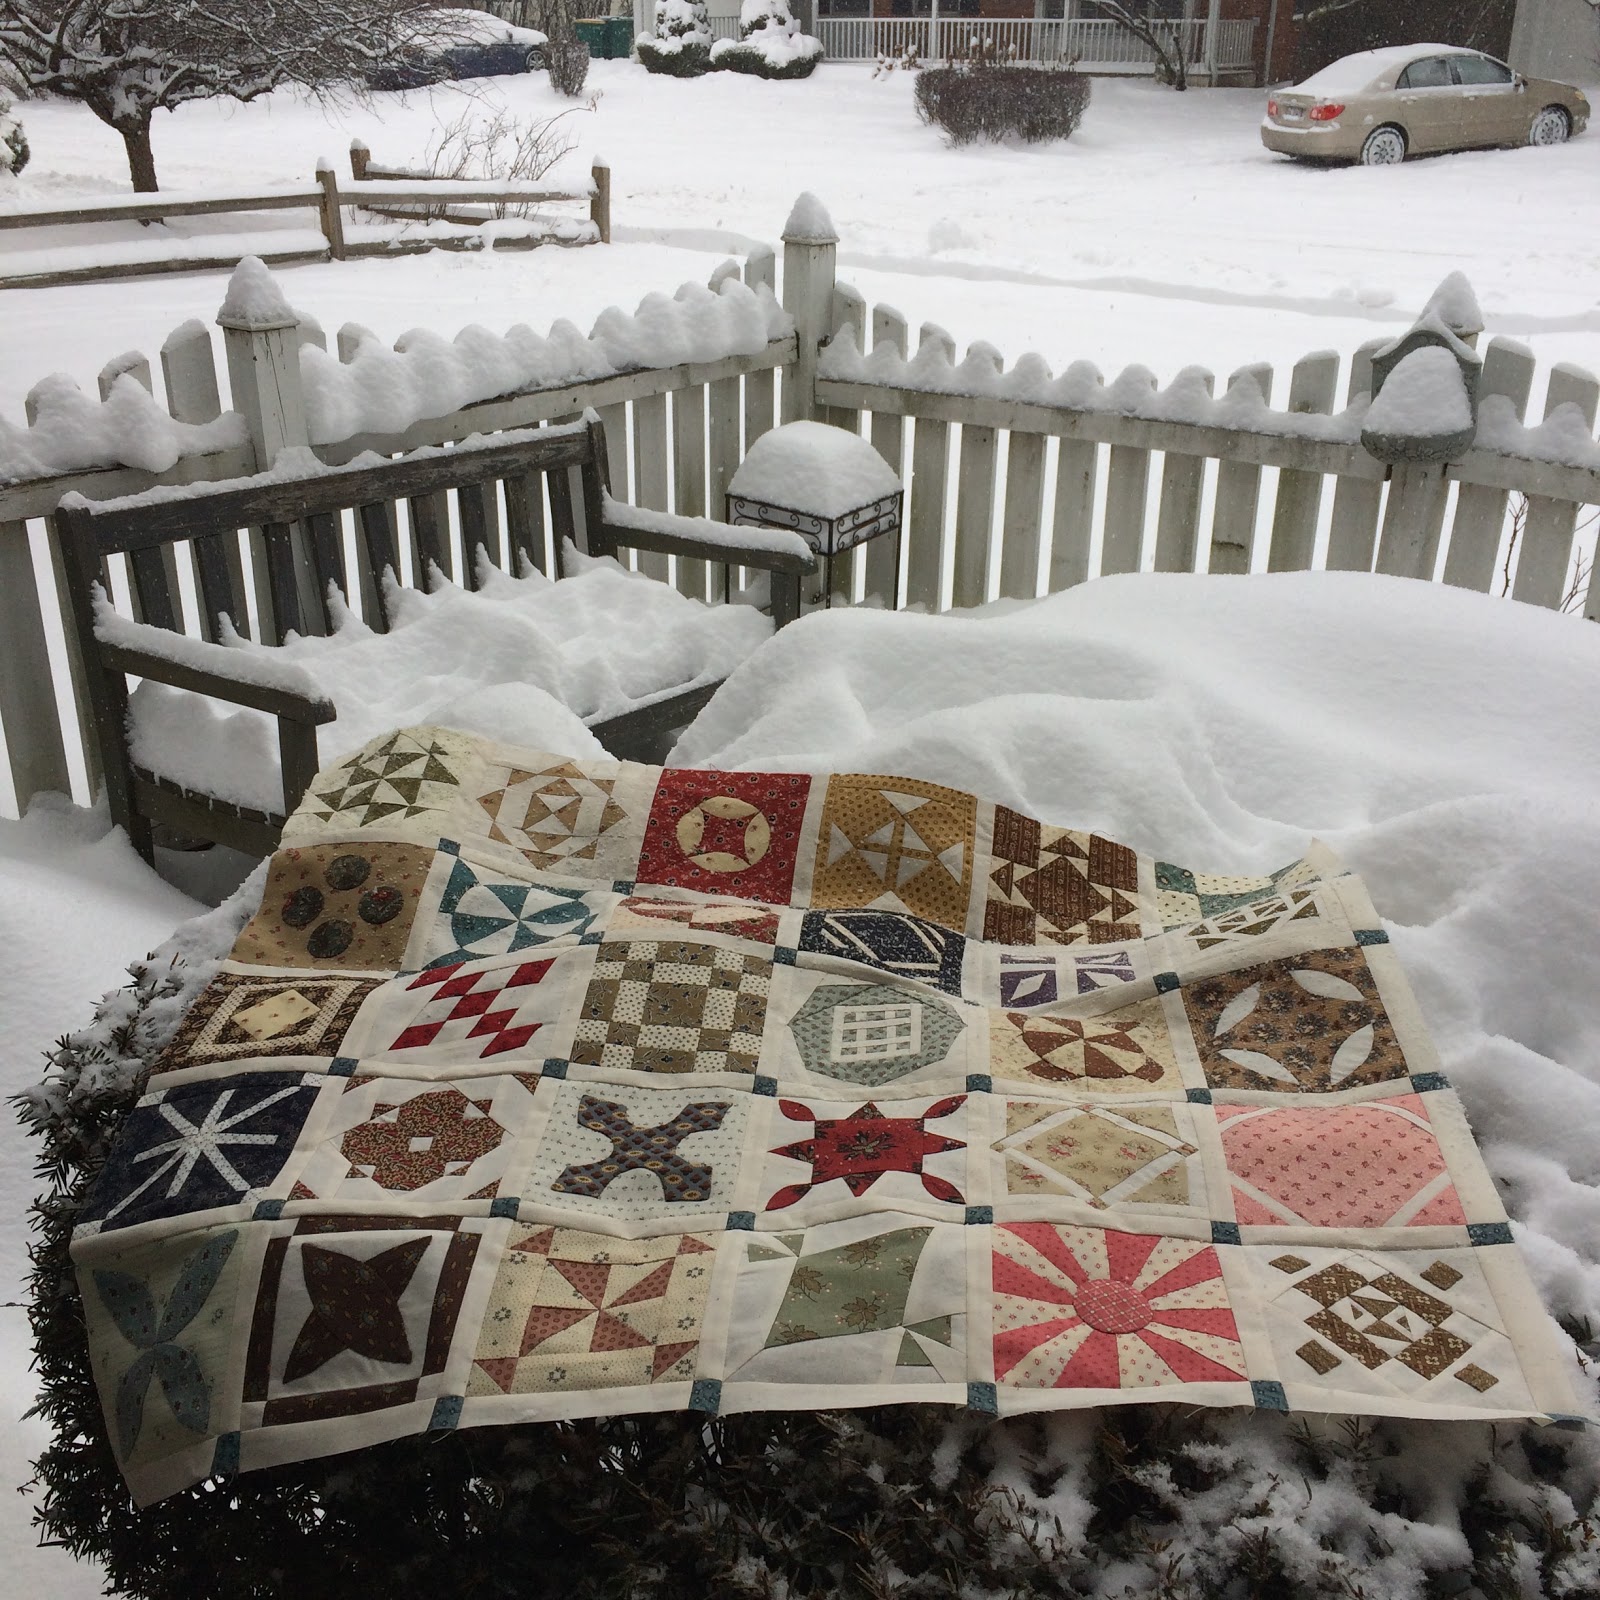
These will be put together into a lap quilt using scrappy six-inch blocks alternated with light print squares. Simple, yes, but scrappy and sort of sentimental.


I'm having a lot of fun playing with my fabrics.


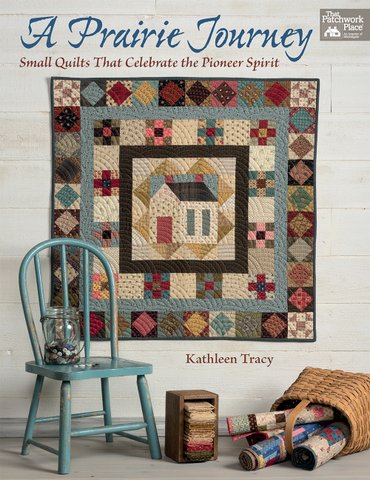
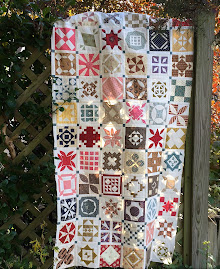
These are 3-inch blocks I'm making for a quilt inspired by a quilt called the Birthday Quilt in Julie Hendricksen's book Preserving History. It's a wonderful book if you love reproductions and antique quilts and it contains quite a few patterns I really want to make. I had the great idea of making a quilt for myself instead of making one for a book, a pattern or a mystery. Something simple. So, this one is going to be MY birthday quilt and just for me to cuddle up in on the couch. 


If you can believe it, the blocks in this quilt are 1 1/2" (!!!). Yes, the BLOCKS, not the pieces. Beautiful,  but that seems just a little crazy to me so I'm making my blocks 3", using 1 1/2" squares, which is still small enough. If I had to make them any smaller I'd get really frustrated and probably quit. After my Dear Jane blocks, it's not like I need even more frustration with tiny pieces. 

For this quilt, I need 240 nine patches and 240 shirting or light squares. Sounds like a lot but they stitch up really fast. I just finished my 130th block yesterday so I'm more than halfway there. I started this last November and then got sidetracked. So I picked it up again to take a break after I put together my first DJ segment. My "loose" goal for the past week has been to try to make 10 blocks every day. I've made blocks 6 days straight so that's pretty good. No pressure, I've got months to finish, but a goal is always good.  Again, it's been fun including a lot of my favorite reproduction scraps in these blocks. 

Have a good weekend! I still have to get in my 10 blocks today . . . . 


Friday, February 9, 2018

Dear Jane Progress

Finally, I had some time to sit down and start sewing my finished Dear Jane blocks together with the sashing. I've been busy but I've also been stalling because it was all a bit scary. How do I do this? Will everything fit together nicely? Or will it be a real pain to get the top assembled? What if they simply do not go together and the quilt looks awful? I went back and forth about the sashing too. The very first Dear Jane quilt I saw in person (made by Karan Flanscha, of Iowa) had cornerstones. Blue cornerstones. I liked the way it looked with cornerstones and I hope Karan doesn't mind I'm using her idea. Jane Stickle's original quilt does not have cornerstones but it made perfect sense to me.


I'm very happy with how it looks and, surprisingly, it wasn't as difficult as I thought it would be. 

This is Karan's quilt - 


I remember meeting Karan when I was teaching a workshop at a guild meeting in Iowa some years ago. My mouth fell open as she showed us her quilt. It was beautiful and I became inspired. She encouraged me to try making this quilt and has truly been an inspiration to many quilters over the years.


I'd been trimming and squaring up the blocks as I went along but I pressed and did it again as I sewed the sashing just to make sure.  I'm always amazed when they turn out to be 5" square. You have to understand, I've been doing this since 2010 and my skills and accuracy have improved since making some of the early blocks. I've used two different sewing machines. Some blocks are hand pieced, some are machine pieced, some are paper pieced. Lots of variation and so much could go wrong. I breathe a sign of relief when they measure up. If you are thinking of making this quilt, be sure to get the official Dear Jane rulers. They're essential. And the software. Don't forget about the software. I would never have finished without the Dear Jane EQ software. A big help for the rotary cutting directions and a lifesaver as I did the paper piecing. Plus, the software contains lots of other info and some great tips. It's almost like taking a class -  all the info you need is right there.


Here's how I'm making the sashing with cornerstones - I cut 5" x 12" pieces from my sashing fabric. Then I cut a 1" x 12" strip from blue cornerstone fabric. I sewed the two strips together and then sub cut that into 1" strips as you can see below. I also cut 1" x 5" strips of sashing fabric. These were first sewn to the right side of a block (see below). The sashing piece with the cornerstone attached was then stitched to the bottom of the block. Then I sewed 6 blocks together with the sashing to make a row. Remember to leave off the sashing around the outer edges of the quilt as you sew the rows together. 


I decided to sew the rows together into four sections. Then I'll sew those sections together. It's a little less cumbersome for me to do it this way. As long as I don't get confused and sew the wrong sections together at the end. I keep the picture of Jane's quilt nearby so I can check every step of the way.


Snow days = Sew days. I stitched a couple more rows together yesterday and hope to finish the first of four sections today. (Don't worry, it's just a little snow. It'll dry. This quilt will probably go through worse before I'm done with it. And it looks so pretty against the white snow.)

Have a fun weekend! It's supposed to snow A LOT more here in the coming days.


Saturday, February 3, 2018

Mystery Quilt - Block 2

I've uploaded a file with instructions for Block #2 (or Clue #2) for my Friendship Garden Mystery Quilt on my website and in my small quilt groups. All you do is add a border around your first block. Easy.


Then, if you feel like doing more, cut 20 squares that measure 3 1/4" x  3 1/4". We'll use these in a later step as we put the quilt together in the coming months. Make sure you put them in a safe place so you can find them when it's time. (But. don't be crazy mad like me and put them in a place so safe you lose them for 2 years . . . .)


Choose a nice assortment of prints in various colors and values if you are making the scrappy version. 

This week I found a small scrap of this pretty blue and red fabric and decided I couldn't bear to cut it up - I needed to use it to make a doll quilt from the alternate star block I gave you last month for the Mystery Quilt. You may choose to make a star for the center if you are not comfortable with applique. See directions for Alternate Block #1. 


Also, the small quilt challenge we'll be making for February is my Windowpane quilt on page 38 of Small & Scrappy.


I love this scrappy little quilt so much. It was inspired by some vintage blocks I found online. The colors were rather dull in the original but still pretty. I made mine in similar colors but added more blue and pops of pink to brighten it up. I'm hoping some of you make this quilt in red or pink for Valentine's Day. 

It's still cold here in Chicago and the lagoon at the Chicago Botanic Garden is frozen over. But it's still pretty to walk around, even if there's no snow.  


When I've had a few minutes, I've been working on some 6" nine-patch blocks for a lap quilt. That light print will be used for my setting blocks. Nothing fancy. Just wanted to use some of my favorite fabrics to make a quilt I can cuddle up under as I watch TV. This one is for ME. 


I work with small blocks so often, it feels weird to make 6" blocks. They seem so BIG. Might be a trend though : )  I sure wish I had made some of my small quilts in larger sizes. 


Of course, something tells me I'm going to have to share my blankie with the dog when it's finished. I don't mind a bit. Who's a pretty girl now that she's had a bath and a haircut?? 

Have a good weekend!